 Remember that flat of strawberries I impulsively bought on Saturday because it was the end of season? Well, they were really, really ripe. Jam had to be made, stat. Luckily, I recently got some awesome pectin that means making low-sugar freezer jam is (kind of) a snap!
I like making AND eating freezer jam better than I like making cooked jam. The fruit in freezer jam tastes more like fresh fruit, because it’s not cooked — just pureed or mashed. Freezer jam is much simpler to make, but of course it has to stay in the freezer until you’re ready to use it. But since we’re lucky enough to live in a time where we don’t have to preserve things so that they will keep in non-refrigerated conditions, I very rarely make cooked fruit jam.
Using this recipe for No-Cook Strawberry Freezer Jam with Honey, I whipped up eight 12oz jars of strawberry jam in a couple of hours. Here’s how:
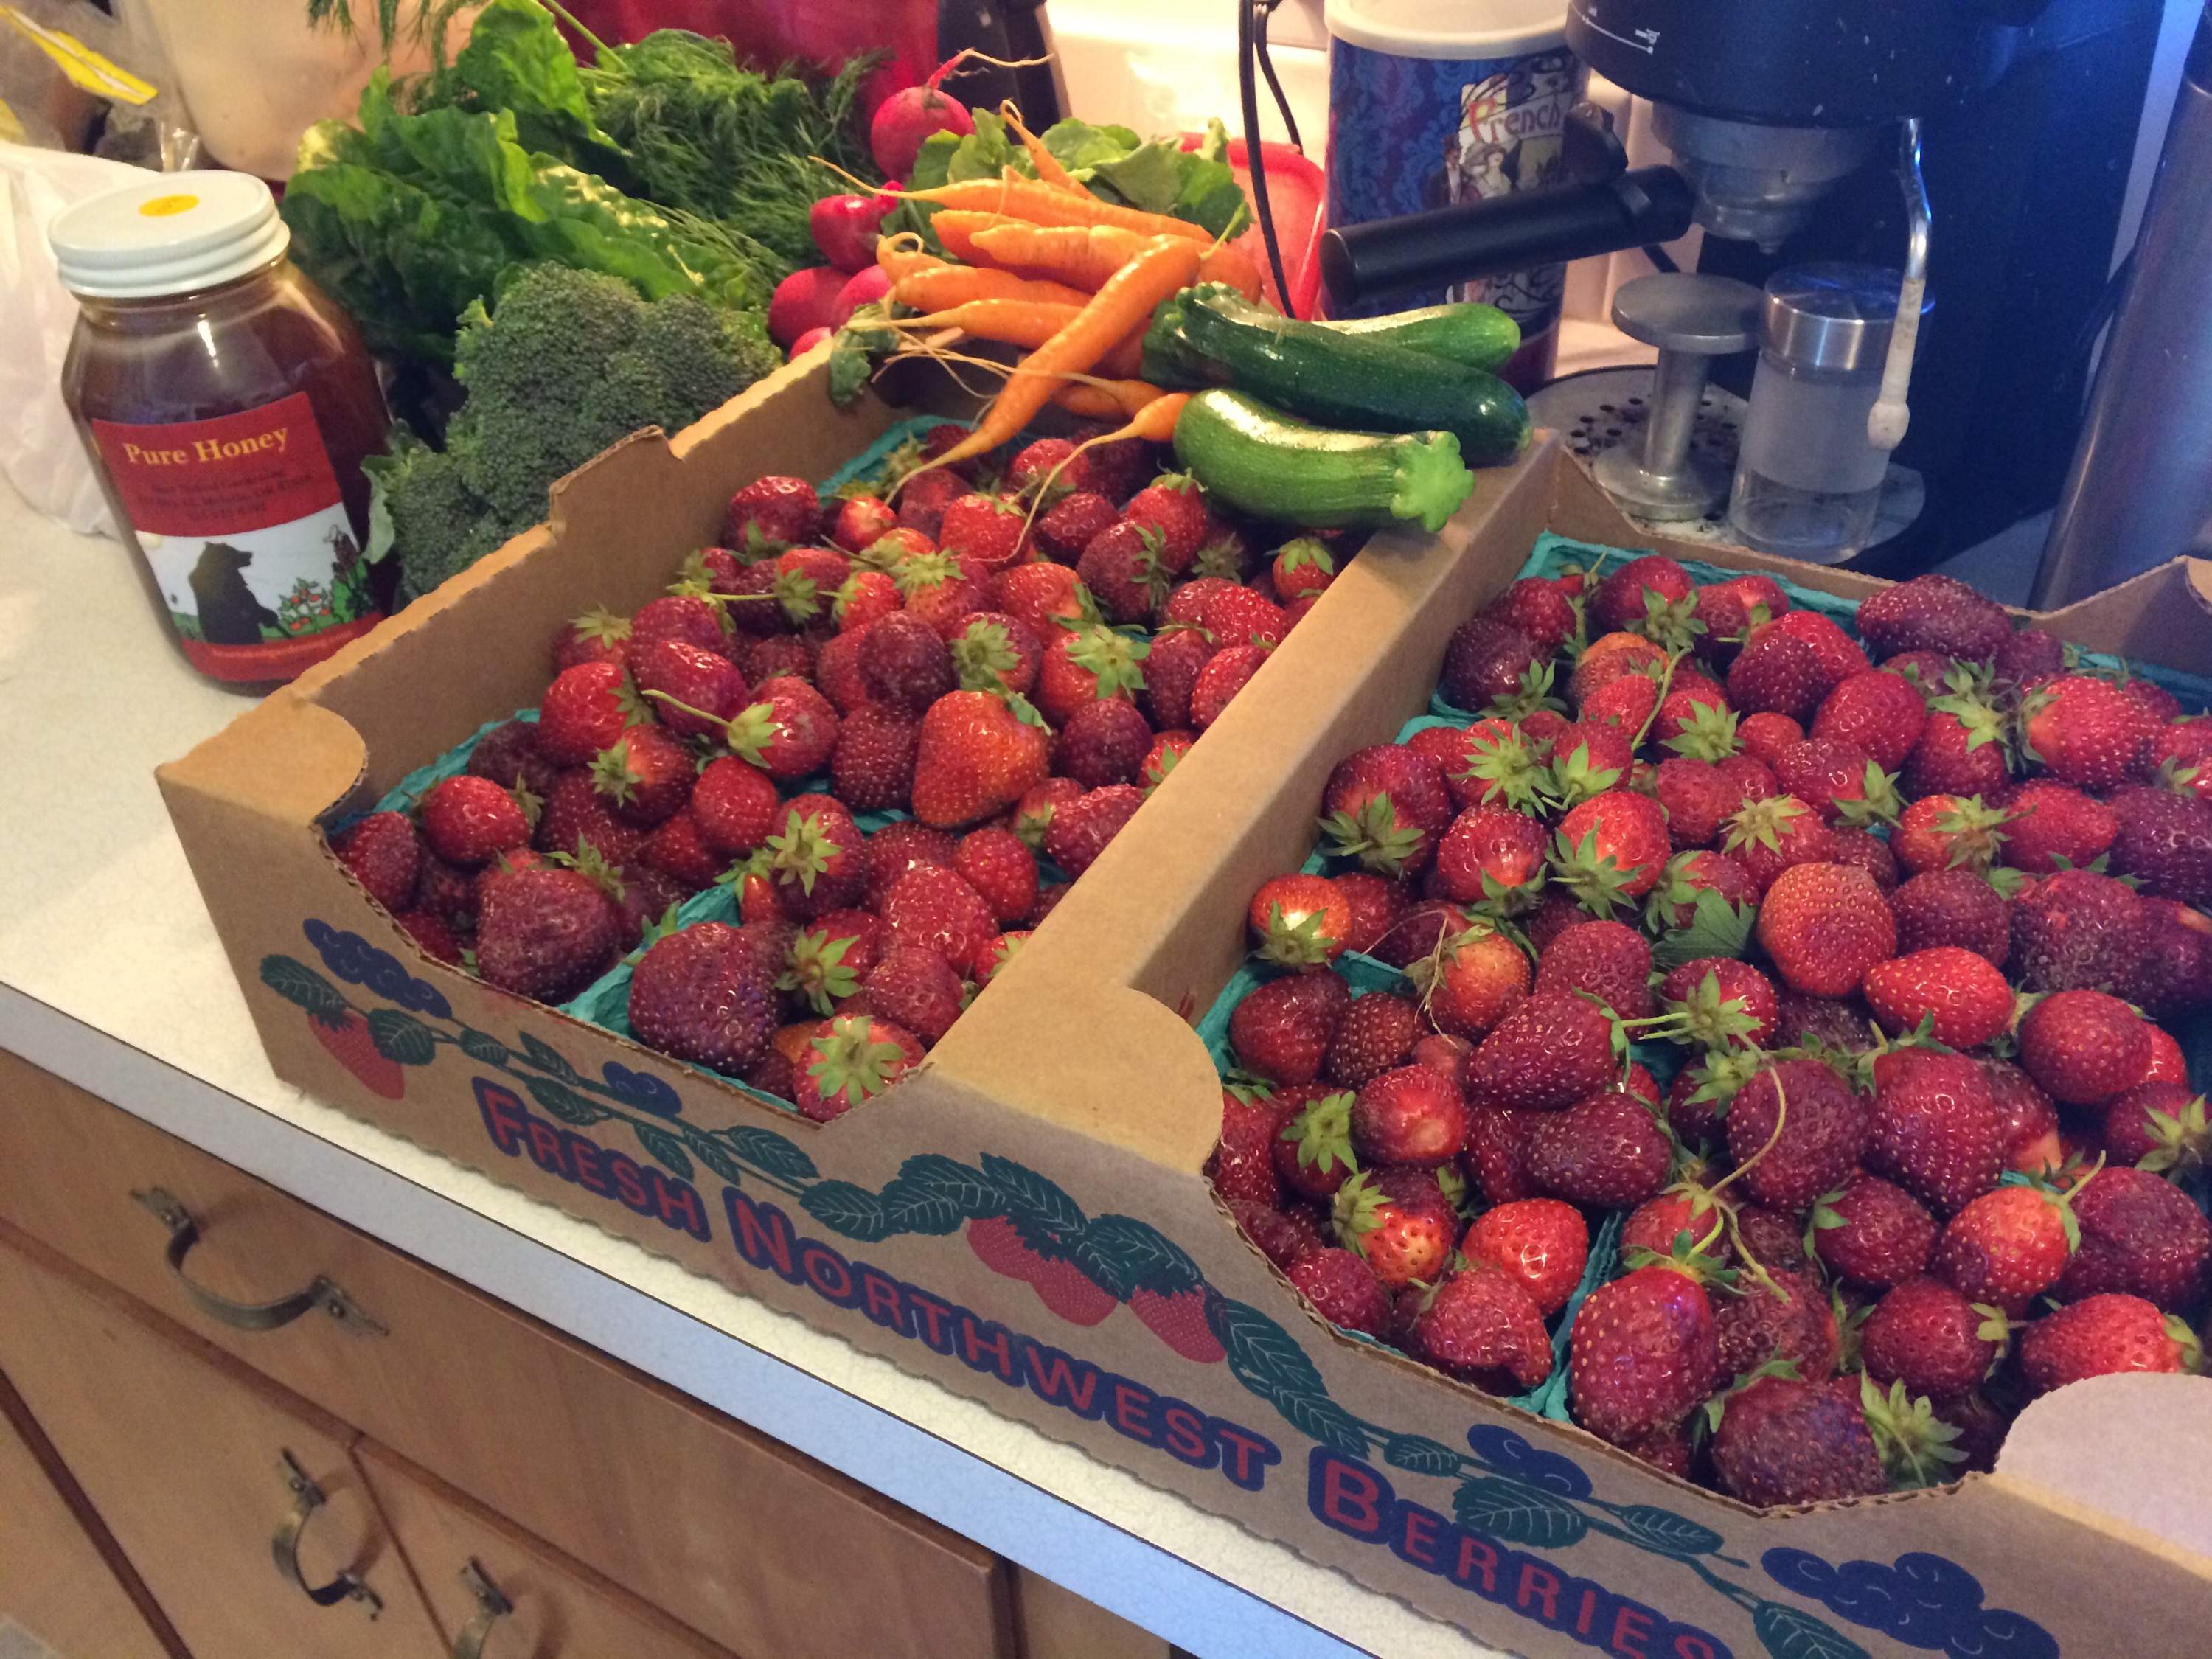
At the end of the season, your berries are sweet and ripe and possibly likely to get moldy and rotten in a few days. There will also be some berries that will last a week. If you don’t want to make jam out of the whole flat, you need to separate the berries that will keep from the berries that will spoil. Any berry that is bruised in ANY way should be considered a risk to refrigerator security and moved to the jam colander immediately. This is not a quick process, but this is the last time this year I’ll get perfect, local Hood River strawberries for $2 a pint. I don’t want to waste even one little jewel.


These berries came straight from the farm, which means freshness but also, wow, DIRT! When your colander is about 1/3 full, rinse the berries under cold water and watch the grit fall out. Shake them vigorously as you rinse, so that any extra-bruised, mushy parts come off in the wash.


Next you need to hull them. I do this with the end of a butter knife, since they’re so soft. I hull them straight into a bowl and then using a potato masher, I crush them. You can use a blender for this, but I like the mashed texture better than I like the blended texture. If your berries are really ripe, the mashing takes very little effort.
Out of 12 pints of strawberries, I sorted out 8 pints that needed to be “processed” today, and 4 that we could eat out of hand — packed in lunch boxes for the week or cut into oatmeal in the morning. Those 8 pints made almost exactly 12 cups of mashed strawberries. I made jam out of 8 cups and froze another 4 cups (I was low on jars) in a freezer bag. I can make more freezer jam out of that strawberry mash in about 15 minutes. Processing the fruit really is the hardest, most time-consuming part.


Next, you need to add your sweetener (I used a cup of local honey and 1/2 cup white sugar), your lemon juice (this helps preserve the color and makes the flavor “pop”), and then blend the Pomona pectin with some hot water until it’s a gel. Once the sweetener and lemon juice has been mixed in to the berry puree, add the blended pectin. For this batch, I boiled the water with some fresh thyme, as I understand thyme helps accentuate the flavor of the strawberry. Then you add the calcium water — that’s what makes the pectin “gel” — and mix until it’s thickened. And then you can put the jam in jars!
I use glass jars, though most instructions tell you to use plastic because you’re freezing it. I freeze stuff in glass all the time and just make sure I have enough room for expansion so the jar doesn’t burst when the jam expands when frozen. I may have pushed it a *bit* with this session, but I’ve never lost a jar yet, so if this was the time I learned a lesson, I’ll let you know. 😉


And there you have it! Tasty, delicious strawberry freezer jam, homemade, and full of stuff I feel good about feeding my kids. It took about 2 hours of work, but will make us all happy on toast, sandwiches, and various jam-related foods for months.

